
 Key Takeaways
-
A high-quality video tour can make your rental property stand out in a crowded online market.
-
Careful planning, good lighting, and steady filming are essential for creating a professional-looking video.
-
Highlighting key features early and using narration or music effectively can improve engagement.
For most potential tenants, the first step in finding their next rental home is browsing online listings. Platforms make this process simple, giving renters access to hundreds of options with accurate descriptions and photos.
For you as a landlord, this means your property is competing against many others. The question becomes: how do you make your listing stand out? Real PM Services recommends creating a professional video tour to showcase your rental in a way that photos alone cannot.
Think of it this way: if a picture is worth a thousand words, a video speaks volumes more. A well-made video lets prospective tenants experience your rental almost as if they were touring it in person. Listings with videos often attract more clicks and serious inquiries.
But quality matters. A poorly lit or shaky video can do more harm than good. Viewers should feel like they’ve actually visited the property after watching your video. Below are steps you can take to create an engaging rental video tour using just your smartphone.
CONTACT US TODAY FOR MORE INFORMATION
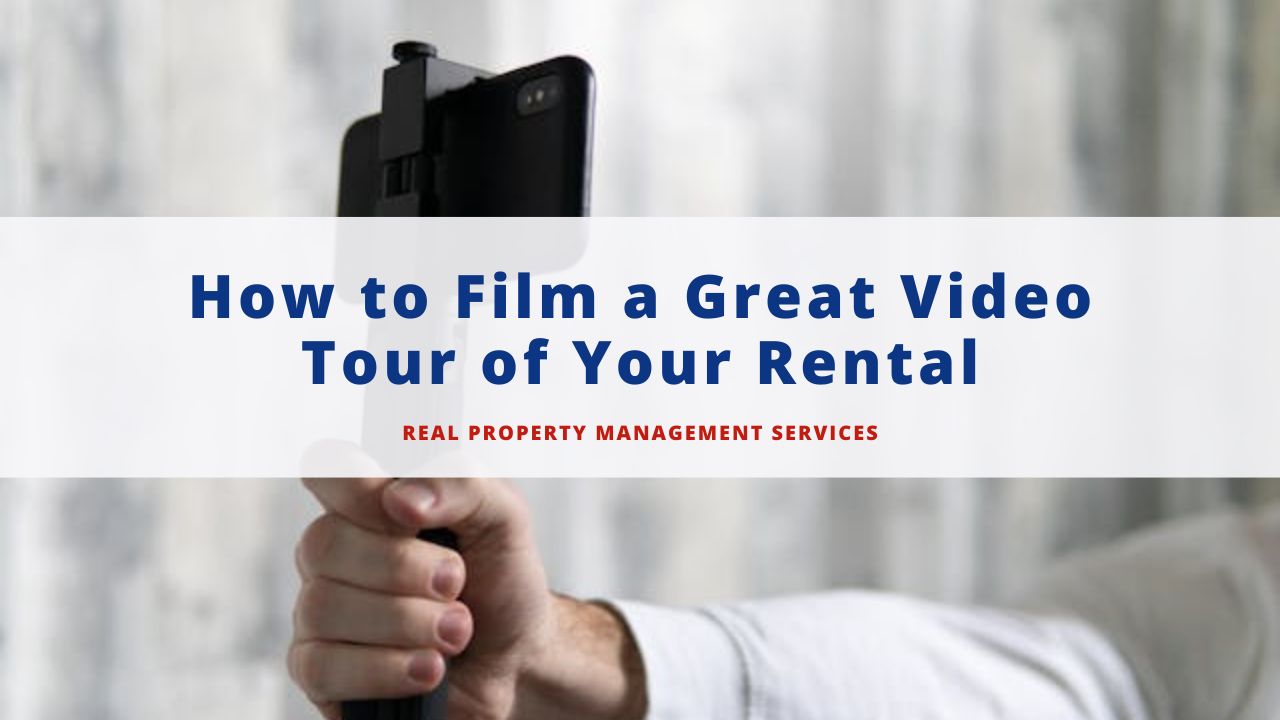
How to Create Engaging Videos of Your Rental with a Smartphone
Making an effective video is a step-by-step process that requires preparation. The effort you put in will show in the final product and in the type of responses you get from interested renters.
Planning and Route Mapping
Before filming, map out your route through the property and decide which features you want to highlight. Having a plan saves time and reduces the need for reshoots.
 Here are some steps to prepare before you start filming:
-
Unlock all doors so you don’t struggle with them during filming.
-
Check that all lights work and are turned on.
-
Use additional light sources like range hoods or under-cabinet lighting for extra brightness.
-
Close blinds if the outdoor view isn’t flattering.
-
Remove or tie up visible clutter and wires.
-
Keep toilet seats closed and shower curtains either fully open or closed for better visuals.
-
Avoid unnecessary zooming to prevent blurry footage.
-
Test different angles to see what captures each room best.
Shoot in Landscape Versus Portrait
Landscape orientation provides a wider, more natural view of each room. It captures more detail and gives viewers a clearer idea of the layout. Portrait format, on the other hand, feels cramped and may cut out important features.
Start from the Outside
Begin by showing the exterior of the property. Avoid starting directly at the front door; instead, start with the entryway so viewers get context before stepping inside virtually.
 This approach makes the tour feel more natural, like an in-person visit. It also helps show off the property’s curb appeal.
Highlight Key Features and Uncommon Characteristics Early
Don’t wait until the end of your video to showcase the best aspects of your rental. Draw viewers in by presenting standout features early. If you save them for last, you risk losing your audience of quality tenants before they see what makes your property special.
Natural Versus Artificial Lighting
Lighting can make or break your video. Natural light often works best, but avoid filming at times when the sun is too bright, which can cause overexposure. Late afternoon usually offers the best balance.
If the view outside isn’t attractive, close the blinds and rely on artificial lighting. Just ensure every room is well lit so potential renters see your property clearly.
Narration and Background Music
Audio can enhance your video, but it needs to be handled carefully. Turn off vents, fans, or anything that creates background noise before filming.
If you plan to narrate while recording, be mindful that sounds like footsteps may interfere. A better option is to record your video silently, then add a clear, polished voiceover during editing which highlights aspects like recent renovations. Background music can also work well, as long as you use copyright-free tracks that won’t cause issues when uploading to rental platforms.
Keep Your Arms Steady
Shaky footage makes a video hard to watch. To avoid this, hold your phone close to your body and keep your elbows tucked in. Rotate your torso rather than your arms when panning across a room.
 Since you’ll likely film more than one property over time, consider investing in a tripod for smoother, professional results.
Finally, take your time. Let the camera linger on key features so viewers can get a true feel for the space. Avoid rushing, and give your audience time to imagine living in the rental.
LEARN MORE ABOUT OUR PRICING OPTIONS
Bottom Line
A well-made video tour can make your property stand out in today’s competitive rental market. By planning your shoot, using good lighting, and highlighting your property’s best features, you’ll create a video that engages viewers and increases interest. Real PM Services can help you take these strategies further, ensuring your rental attracts the right tenants faster.
This content is provided for general informational and educational purposes only and does not constitute financial, legal, tax, or investment advice. Readers should consult with licensed professionals regarding their specific circumstances.
We are pledged to the letter and spirit of U.S. policy for the achievement of equal housing opportunity throughout the Nation. See Equal Housing Opportunity Statement for more information.